Home Kitchen

Persian foods on a built-in gas grill

Kebabs are a great side dish to prepare on a built-in outdoor gas grill. Everyone loves their color and they’re fun to eat and easy to make on a great grill like the Fire Magic Echelon grill, which has excellent heat distribution to allow for even and thorough cooking of all the kebabs lined up on the grill. The construction is of high quality steel. Another good option is the Weber built-in gas grill. This one is perfect for the serious outdoor gas grill user who plans to serve a large group. It has a full rotisserie and an unusual size. They have a grill aptly named “Napoleon” that will conquer any size party with its impressive size and features. For those who want alternative cooking methods available, the Vidalia grill includes a convection oven function so kebabs can be served with flatbreads prepared ahead of time using the convection oven option.

For those who have limited backyard space for grilling, the DCS-36-inch Professional could fit the bill wonderfully. It’s attractive but smaller than most grills. This is a beautifully designed unit that helps make any outdoor kebab cooking party perfect for the Persian cook who wants their guests to enjoy elegant surroundings and delicious food.

Many outdoor chefs feel that grilling is all about the sauce and many have their own favorite secret sauce. Some grills fill this need. For example, anyone cooking a “kubideh” needs a good container to hold the melted butter that needs to be spread on the skewer to ensure it reaches its full flavor potential. Ideally, a grill should have some room to add vegetable skewers to complement such popular kebab delicacies as kebab barg and kebab kubideh.

Home Kitchen

DIY Staging Tips for Home Sellers

The buzzword today among residential real estate agents is staging. Staging a home can change the atmosphere of a home that attracts homebuyers and can bring a higher price and speed up the time to market. By adding small decorative touches, rearranging or removing furniture, or creating vignettes, a home can look like a professional set designer was hired.

Mark Nash, author of 1001 Tips for Buying and Selling a Home, has seen the best and worst of staging a home as a Chicago realtor and shares some do’s and don’ts for home sellers. who want to test your house.

behind

-Collect recent home decor magazines. If you’re not up to speed on current decorating trends, it will help you become familiar with how interior design is marketed. Tab pages with low cost ideas that will make your home say today.

– Invite a friend or real estate agent. A second or third set of eyes will help you bring out the best and edit out the worst in your home. Be prepared for some constructive criticism. You want to hear it before you put your home on the market, not as feedback from potential buyers. Go room by room with a worksheet so you can take notes. Depending on how much time you have available for an upgrade or makeover, you’ll need to prioritize and figure out what will give you the most performance. Do this at least two months before you put your house on the market.

-Organize a home office if you don’t have one. They are not a trend; they are required for homebuyers in 2006. Many homebuyers today work from home part-time or full-time or want a space where they can organize their lives and park a computer. Find an extra bedroom, walk-in closet, or unused nook and turn it into a home office. Make sure there is a convenient power, telephone, and cable supply.

-Focus on living spaces. These areas are where most homebuyers will spend their time. Place a side table and a floor lamp next to a comfortable chair as a reading corner. Float sofas and coffee tables away from the walls for a designer look. Use throw rugs to anchor groups of furniture to bare wood and tile floors. Living spaces must have matching table lamps. Optimize family photos and put green plants in the room. Fireplaces should always be operable and lit in season. Place clusters of candles and clear glass bowls filled with natural potpourri on coffee and end tables. Substantial wicker baskets can organize magazines, remote controls, and toys. Limit trinkets to make room for staging materials.

-Give attention to the Kitchens. Keep all kitchen towels and rags in a practical drawer. Reduce recipe boxes, cookware barrels, excess cooking machines and cookbooks by two-thirds to open up counter space. For a quick upgrade, put new hardware in the cabinets. Find a secluded spot for a portable dishwasher. Clean everything on the refrigerator door. Skip the rugs scattered around the kitchen. Clear window frames to open up outside views. Organize cabinets with clear containers. If you can’t see the back wall of a cabinet, buyers will think you don’t have enough storage space. Ditto cabinets. Budget to keep a variety of fresh fruits in a glass container on the counter. Edit family bulletin boards. Remove old curtains and install new wooden shutters on the windows.

-Spend time in sleeping and bathing spaces. Often overlooked in the rush to get a house on the market, these spaces can make or break a home. Purchase a set consisting of a matching bed skirt, bedspread, matching pillowcases and blinds. Buy a new shower curtain and separate liner. Wash the liner frequently if mildew develops. Add complete sets of towels to match your new shower curtain. Wipe off all cosmetics from the vanity. If you have a cabinet over the toilet, consider removing it and putting a piece of art in its place. Remember to keep items in the “too much information” category out of sight. If you have a king-size bed in a small room, you’ll pay for buyers to outweigh this negative, so get rid of it now. Clean the dresser and nightstands of excess. Make sure the bedroom gets as much natural light as possible. Install closet organizers in closets. Eliminate wall and door hooks for clothes. People can look under your bed, no surprises please.

-Remember first impressions on tickets. A simple console table with a mirror above it makes a nice entryway. Make sure this space is well lit day or night. Put adhesive under rugs so shoppers don’t trip or slide.

not to do

-Use cheap silk flowers. Nothing distracts shoppers more than old-fashioned, seasonally inappropriate, or mixed-up silk flowers. Throw them out now.

-Forget about upgrading Fido’s bowl. I have experienced more unhealthy pet food bowls, water stations, and litter boxes than I care to remember. We know you love your pet, but show it to homebuyers.

-Ignore window coverings. Today’s buyers think less is more in window fashion. They want the most light and the least amount of window decorations. And no sheer panel layering, please.

-Use low voltage light bulbs. Dim, dark rooms are not attractive to homebuyers. They want to see what they could buy. Replace light bulbs with manufacturer-recommended wattages, especially those that are burnt out. The newer energy saving light bulbs do not cast a flattering light on the home or people.

-Think that everyone loves wallpaper. No two people have the same taste in this instant finish decorator. If it is more than three years old, take it apart and paint it a neutral color. And the wallpapers are out.

-Painted with commitment colors. If you’ve determined you need to paint, stay away from flashy colors, or as I call them, compromise colors. Engagement colors are those that buyers either love or hate. It can be difficult for buyers to layer their style on them. As a client told me “I don’t live in a magazine”.

-Think that cleaning is part of the staging. Cleaning is what you do before staging. Everything must sparkle and shine. Don’t forget the windows.

Use these DIY tips to get your house on the stage at your local movie house for sale.

Home Kitchen

Clean Stainless Steel Appliances With These 4 Amazing Tips

Cleaning stainless steel utensils and appliances used in the kitchen is too much of a chore for many homeowners. Stainless steel kitchen utensils and appliances are exceptionally preferred, but unfortunately many of them start to show stains and marks quite quickly and this can be a cause for concern for many homeowners.

Take a look at these amazing tips that can work wonders to remove stains and marks from your kitchen utensils and appliances.

Cleaning Tip #1 – A pattern is usually seen on most utensils and appliances. These are the lines that can be easily seen on the surface. As you clean, be sure to constantly clean in the same direction parallel to these lines.

Cleaning Tip #2 – To remove stains and marks, you should use warm water, a small amount of mild cleanser, and a delicate cloth to wash the surface. Wash the surface well with clean water and then dry it well with a towel so that no water stains can be seen on the utensil.

Cleaning Tip #3 – While cleaning stainless steel to remove fingerprints, you should use a glass cleaning solution. Take a look at this homemade solution that can be very useful.

  • Take a 500ml spray bottle and then add 50ml of white vinegar and water. Then use this mixture and spray on utensils and appliances and wipe with a clean cloth to remove fingerprints.

Cleaning Tip #4 – In case the tips mentioned above are not effective on your utensils and appliances, then you need to use a stainless steel cleaner. Remember to rub in the same direction as the pattern lines. Before using any cleaning solution or product on your stainless steel items, first test it on an inconspicuous area. This must be done to ensure that you get the result you need and that it works properly on your stainless steel items.

You should always keep in mind that stainless steel is prone to scratches, so it is very important to take proper care of every utensil and appliance in your kitchen. Scratches become a home for dirt and grime, and eventually these scratches completely ruin the surface.

One of the best options is to hire professional stainless steel rust removal services that can do the job for you without damaging expensive appliances.

The above four tips for cleaning stainless steel will make the job much easier for homeowners who are faced with the difficulty of cleaning tough stains. Having the spray bottle close at hand means that fingerprints on utensils and appliances can be removed quickly and easily.

Home Kitchen

Pros and cons of zinc countertops

The use of zinc and other metals for countertops and a variety of kitchen surfaces is an emerging trend. Brings a warm look to the kitchen. The color of zinc is more similar to pewter and is nothing like stainless steel. The finish is actually reminiscent of the more opaque look unique to bullet metals. Over time, the zinc oxidizes and acquires a patina like that of an early American mug. Although softer than stainless steel, zinc will resist denting. However, it will scratch with frequent use. Fortunately, many people find that it adds to the rustic charm. Trivets and cutting boards are recommended to prevent heat damage and scratches.

In any case, it’s a nice change from the cold, institutional look of stainless steel. For those who prefer a cleaner, more polished look for their zinc countertops, a clear coat can be applied to maintain a smoother finish. If someone is not happy to see so much wear, another option would be to polish the zinc regularly to brighten the appearance. Also, the sanding process to remove unwanted scratches and scuffs is not difficult.

Since zinc is a necessary mineral for the body, it is an absolutely safe material to use for countertops. Because the zinc oxide that forms on the surface is a natural inhibitor of mold, mildew and bacteria, it is recommended for use on chopping blocks and in food preparation areas. Keep in mind that different foods and beverages can leave their own mark on a zinc countertop, but since zinc is naturally non-porous, it is virtually stain resistant. Cleaning and maintenance are a breeze as the zinc can be easily cleaned with warm water and a mild detergent. Cleaners containing abrasives should not be used. If the natural tarnishing process is not desirable, it can be somewhat controlled by waxing the surface with beeswax.

Just like any other material used for countertops, zinc countertops can accommodate any undermount sink of your choice. Another popular option is to have a custom zinc sink welded to the countertop so that it becomes an integral piece with no seams. In addition to countertops, zinc can be used to design other surfaces. Metal tile and patterned backsplashes are also available for a custom look. Range hoods, cabinet doors, and wall paneling are other options offered to enhance the rustic charm of any kitchen.

The price of zinc starts at around $120 per square foot. Although it is the same cost as granite, the look is completely unique and designer. Stainless steel can be durable and look stylish in a modern kitchen, but metals like zinc and copper can pair beautifully with more traditional or vintage-style kitchens. One of the advantages metal countertops have over all other materials is that they are fully recyclable. As a bonus, the edges of softer metal countertops can be decoratively molded into just about any design you can imagine.

Home Kitchen

How to Restore Discoloration on Stainless Steel Cookware

When cooking with stainless steel cookware, we often discovered brown or blue stains on the bottom over time. These stains will diminish the shiny appearance and make cookware look rusty and dirty. To keep it looking beautiful, there are a couple of easy ways to help remove stains.

Cause of discoloration

The most common cause of discoloration is cooking over high heat. The next common occurrence that causes discoloration is cooking with burnt food leftovers in the pan. Burnt food, if not completely removed, will cause staining when the pot or pan is reheated. Additionally, mineral solids in the water can also leave water stains on stainless steel cookware. To fix the problem, Bar Keepers Friend and white vinegar are often used to restore discoloration to stainless steel cookware.

Friend of the bar keepers

Bar Keepers Friend is a premium cleaner that works without chlorine bleach and can be used on stainless steel. Bar Keepers Friend can be purchased online or at local stores in the home cleaning aisle and can be found in liquid or powder form.

Before cleaning, make sure the pot or pan is damp. To begin the process, apply Bar Keepers Friend to the surface of the cookware and then gently circulate with a soft, damp cloth where the stains are. If using Bar Keepers Friend powder, it’s always a good idea to mix the powder with water to make it into a paste before rubbing to remove tough stains. If the stains are difficult to remove, it is suggested to leave the Bar Keepers Friend Paste on the wet surface of the cookware for a while before rubbing. This would help the stains to disappear easily. When stains are completely removed, rinse cookware in warm water and wash with soap to remove all chemical residue. Finally, rinse cookware thoroughly with hot water and use a clean, dry towel to thoroughly wipe it down.

White vinegar

Using white vinegar is another method to restore faded stainless steel cookware. First, fill discolored stainless steel cookware with a cup of vinegar, adding water as needed to cover stains. Next, boil the vinegar and water mixture for about five minutes and then allow it to cool completely. After that, wash cookware in hot, soapy water using a soft dishwashing cloth or non-abrasive pad. When you have finished cleaning, rinse stainless steel cookware thoroughly with hot water and dry thoroughly with a clean towel. Note that boiling vinegar will produce a fermented smell. If you can’t tolerate the smell, instead of boiling the vinegar, let the vinegar and water mixture sit on the cookware for a while longer before washing with soap to remove stains and complete the process as suggested.

Best of all, to avoid discoloration, remember not to put stainless steel pots and pans on high heat. It is recommended that once the pots and pans are hot after preheating, keep the heat on medium or medium-low for cooking. Clean pots and pans after each use and wiping them down with clean, dry towels will definitely help cookware stay spotless. After all, using and caring for stainless steel cookware correctly will enhance its rugged character and appearance.

Home Kitchen

The Different Types of Office Cabinets by Hon

Proper security and order for your valuable documentation and files is essential in all offices. If you are thinking of securing it, look no further than having Hon filler cabinets. These cabinets are very cleverly made to hold files while consuming much less space. These cabinets are present in different styles and designs. Your office will look much better and well organized.

You can find these cabinets in various heights and these are solidly built and used for long lasting utilization. These cabinets are available in two types, from side to compact. They can allow air to pass through from the inside of the cabinets so that they do not deteriorate due to humidity. The side comes for daily use purposes. For everyday use, side cabinets have proven to be very neat and organized. These cabinets are available with 2, 4 or even 5 drawers along with matching drawer pulls so you can change them according to your room interior.

The 600 series of side cabinets is one of the most popular cabinets that are widely used for offices today as it is known as a stylish addition to the office interior. These cabinets have 2, 3, 4, 5 and 6 drawers.

The 700 series side cabinets are 700 series side cabinets for everyday use which are a bit hard, rough and sturdy in nature. The drawer handles are very stylish and locks are also present inside these drawers for added security. Other advanced side series include the 80 series and 800/700 series, which are highly advanced in features and reliability. Other distinguished Hon file cabinets include 530 series, 510 series, 310 series, etc.

There is a series that is vertical in shape and takes up minimal office space. It is considered ideal for office use for file storage. These cabinets are available in 5 drawer letter size and 5 drawer legal size. The offices feel and breathe easy since they are not thrown with the furniture.

Finishes include Taupe, Putty, Grey, Black, Clear, Charcoal, Shaker Cherry Laminate, Columbian Walnut Laminate, Shadow Zephyr. Desert zephyr, cloud zephyr, morro zephyr, carob and various metallic tone finishes are placed in Hon file cabinets.

Home Kitchen

3 problems with the kitchen blender that you can solve yourself

Over time, even the best kitchen blenders will start to show damage. This is especially true if you use your blender every day to make thick smoothies. Today, in our throwaway society, we are quick to throw out a product at the first sign of a malfunction. Small appliances like blenders are usually not worth taking to a repair shop to have them fixed. But before you send your blender to the landfill and buy a new one, there are several quick and easy repairs you can do yourself. It’s worth taking the time to do these checks to see if you can get your blender working again.

leaks

One of the most common problems you’ll encounter with your kitchen blender is a leak. Even the highest rated blenders from blender reviews will start to have this problem eventually. The cause lies in the O-ring or gasket located at the bottom of the blender jar where the blade assembly and housing reside. Over time, the rubber gasket begins to wear out. If the blender leak is coming from the glass jar and not the bottom, then there is likely a crack in the jar and you will need to replace it. However, the leak at the bottom is likely to be the gasket. To inspect it, you’ll need to unscrew the blade housing from the blender jar and pull out the rubber o-ring. So you can look for leaks and tears in the rubber of this ring. This part is easily replaceable and only costs a few dollars. You can find it online or at most discount home or appliance stores.

defective blades

Another common problem with blenders will occur with the blades. In this case, the motor will start to work, but the blades will rotate too slowly. If this happens, the likely cause is something obstructing the blade assembly area. You will need to disassemble the assembly and clean everything thoroughly with a scrub brush. There is probably a buildup of food slowing down the blades. Soaking everything for a few hours in detergent will also help dissolve any food particles or dirt that have built up over time. Be sure to check your owner’s manual to make sure this is okay for your particular brand of blender. You may also want to add a little white grease or WD-40 to the bottom of the blade assembly (not in the areas where you’ll be putting food, of course). If all of this doesn’t work, then you’ll probably need to replace the entire assembly, which can also be purchased online or at most appliance stores.

busted buttons

Another problem you may have with your kitchen blender is with the buttons or the control panel. Often the buttons will get stuck. This is probably due to food and drink falling into the button area and causing them to get stuck. Even if you take care and thoroughly clean the buttons and control panel, food particles will continue to accumulate over time. Many blender models will allow you to remove the control panel cover so you can clean behind it. You can use a toothbrush here to help you get to all the crevices. Some blender models will also allow you to remove the screws on the bottom of the unit and pop out the bottom area of ​​the case so you can access the buttons more easily. Be sure to check your owner’s manual if you need to do this. Often all your blender needs is a good cleaning to get the buttons working again.

This information should help resolve the most common minor blender problems. Keep in mind that often a simple repair or replacement will save you the expense of having to buy a new blender. It’s also much better for the environment to fix something rather than just throw it away.

Home Kitchen

Router table: how to make your own

A router table quiets a router, helps control wood dust, and adds a little more security to routing. Provides a stable platform for intricate shapes as well as precise edging. A router table can handle 80% of your routing. It makes good practical sense to have a router table.

You can buy one through various vendors/catalogs. You’ll learn more about carpentry if you do your own. Making your own will evolve over time.

Most commercial router tables have unused space under the top. Does it make sense to use this space for your router accessories?

If the answer is yes, you can create your own unique router table. Let’s discuss some features you may want.

Features of My Custom Router Table Plans:

  • Router bit storage for 36-48 router bits of various sizes.
  • A router riser to adjust the router easily.
  • The on/off switch is easily accessible.
  • Two drawers for keys and accessories.
  • Amble storage for your portable router and accessories.
  • Drop down window for easy access to your fixed base router (the PC 7518).
  • It has wheels to move easily.
  • Almost no dust enters the cabinet.

What more could you want?

Near the router table

What to look for in a router table fence:

  • repeatability
  • zero deviation
  • Rectitude
  • Ability to square it to the top of the table.
  • Chip/dust collection
  • Easily clamps to table and adjusts

router board

The top must be flat and stable to do quality work. I prefer a high pressure laminate top on both sides. I find it better than melamine or other types. It makes sense to have a clean top, with no miter channel. Those things weaken the top and just collect sawdust. You rarely need them. To use a miter channel, it must be square to the fence. Is it worth the hassle?

It is not difficult to make a Top. Or you can find quality caps at a fair price without all the bells and whistles. Try to find one that is around 24″ wide x 32″ long. Positioning the router insert plate to the rear will provide more work space for wider boards.

Router table insert plate

There are many router boards available. Pressure rings for many are not easy. I broke a couple of snap rings trying to get them out. From a user-friendly point of view, they are difficult. Some of these insert plates tend to warp over time. That will not give you an accurate cut.

You can skimp on this article, but I think you’ll regret it in the end. It seems wise to get a solid 3/8″ aluminum one with inserts that are easy to change. They lay flat and are easy to change inserts. Best to have an insert that accepts PC guide bushings. A couple of different inserts from size are good for larger router bits.Woodpecker makes a high quality one.Once in a while you can find them on sale.

You can make your own template to mount a router plate. Apply double sided tape to the insert plate and mount it to a 1/4″ hard tempered fiber plate. Then use a reverse embedment bearing kit. You now have a template to make a template.

Tape or fasten the template to 3/4″ plywood or MDF. Place the bearing in the inlay kit. Then route the 3/4″ plywood (MDF). You have an exact copy of your insert plate. You can place the insert plate anywhere you like. By using a different template guide, you can cut off the 1/2″ edge to support the insert plate. Simple!

For more information on how to build your own router table, including images and tips, visit Router Table Plans

Home Kitchen

Ask an expert: interior design

Over many years as an interior designer, what would be the top 3 changes in consumer preferences during that time?

One thing that immediately comes to mind is the switch from stain cabinets to paint cabinets. White kitchens are back! Customers are leaning more towards lighter and brighter shades than the red/orange shades of the last decade. Flooring has changed quite a bit with more customers opting for LVP (Luxury Vinyl Sheet) throughout their home. LVP has come this far and is now super durable, easy to maintain and looks amazingly real. Third, quartz countertops are becoming the standard. I rarely specify granite anymore. Quartz is so easy to maintain compared to granite and the colors and patterns that are now available mimic everything from natural marble to exotic granites.

What are some future ideas and predictions? Any new trends that may take place in 2018/19 and beyond?

Natural woods are very popular right now: hand-scraped wide-plank barn flooring, as well as openly distressed furniture. What is also starting to emerge in design is more of a traditional style again. Details throughout and the use of rich jewel tones are all the rage right now along with warm metal tones (yes, bronze is back but in an updated way!).

What are some of the challenges to face in helping clients realize their dream renovation?

Many clients are afraid to trust their style intuition. They often fight between their hearts and their brains for what they want. They often try to force themselves to change the color palettes or styles of their latest home and sometimes push themselves out of their comfort zone. I always tell clients to listen to their instincts. Their home is their sanctuary and they need to feel comfortable, relaxed and love being home.

Are there certain types of renovations that tend to add the most value to a home’s selling price?

Kitchens, bathrooms and basic developments are always the spaces that are used the most, therefore, they increase the value of your home. Those rooms are the ones that potential home buyers predominantly look for because they know those are the areas where they will be spending the most time.

How do you get ideas or inspiration to help guide you as you consider renovation options?

I often suggest that clients send me photos of houses, rooms, styles, products that they find on home decor sites. Customers often don’t know what their style is, so if they can show me pictures of things they like, I can usually understand them better. Visiting show houses is also a great way to find inspiration and new ideas.

Home Kitchen

the color effect

Does color affect your mood?

Does our environment really have the ability to change our moods, or even cause depression?

If you’re not sure, think about how you feel when your office is messy, your bathroom is dirty, or your living room is messy. Do you feel scattered when your desk is littered with papers, 3 days of cups of coffee and a half-eaten sandwich? (Maybe that’s just my desk)

But you feel disorganized, don’t you? I feel MENTALLY more organized when my office is organized.

I don’t think there is any doubt that our environment (interior or exterior) affects our emotions. And we can be affected by different things; general clutter or chaos (this can be a dirty/messy space or it can be a cluttered space with accessories!), general feeling of warm versus cold, and one of the most important factors: Color!

Color is light, and light is energy. Scientists have discovered that real physiological changes occur in humans when exposed to certain colors. Colors can stimulate, excite, depress, calm, increase appetite, and create a feeling of warmth or coolness. This is called chromodynamics.

The human eye can see up to 7 million colors.

Some colors and/or color relationships can be irritating to the eyes, cause headaches, and wreak havoc on your vision.

Other colors and/or color combinations are calming and make us feel better.

The proper use of color can maximize productivity, minimize eye strain, and relax the entire body.

For example:

RED

Red stimulates energy, it means strong emotions like love, hate, anger (“seeing red”). Infamous symbols associated with the color red are stop signs, fire hydrants, and hearts.

The color red has been found to raise blood pressure and cause people to take risks they wouldn’t normally take. That’s why Las Vegas casinos use red neon lights (take note next time you’re there).

But it also has a positive effect, think “pink glasses”. You’ve heard the saying, but did you know it really works? A company that markets red contact lenses for animals found that chickens they tested ate less, produced more eggs and didn’t fight as much.

PINK

The color pink is associated with love and romance. It has a calming effect and as such was often used in some prisons to calm inmates in the 1950s, and in opposing team locker rooms to keep players passive. However, the researchers found that this effect only occurred during the initial exposure and that the inmates actually became more agitated as they got used to the pink. So now you know why you would get so mad after many long visits with Grandma!

ORANGE

The color orange is associated with energy, warmth, enthusiasm, and autumn, as well as caution and, of course, Halloween.

Orange stimulates the appetite and is often used in restaurants and dining rooms.

Orange has been found to increase oxygen supply to the brain and stimulate mental activity, making it a good color choice for creative businesses.

It is the most divided of all colors: people love it or hate it. It is more accepted among the younger generations.

YELLOW

Yellow is associated with optimism, happiness, energy, and restlessness. It is the most tiring color, especially the brightest tints because it reflects more light and causes excessive stimulation of the eyes.

If you’re planning a baby’s room, don’t use bright yellow; babies tend to cry more in yellow rooms.

It has been shown in a color study that husbands and wives tend to fight more in a yellow kitchen.

Yellow does have some good uses though, it’s the first color the eye recognizes so it’s great for signage. Yellow is also known to increase metabolism, making it a good choice for plates or tablecloths.
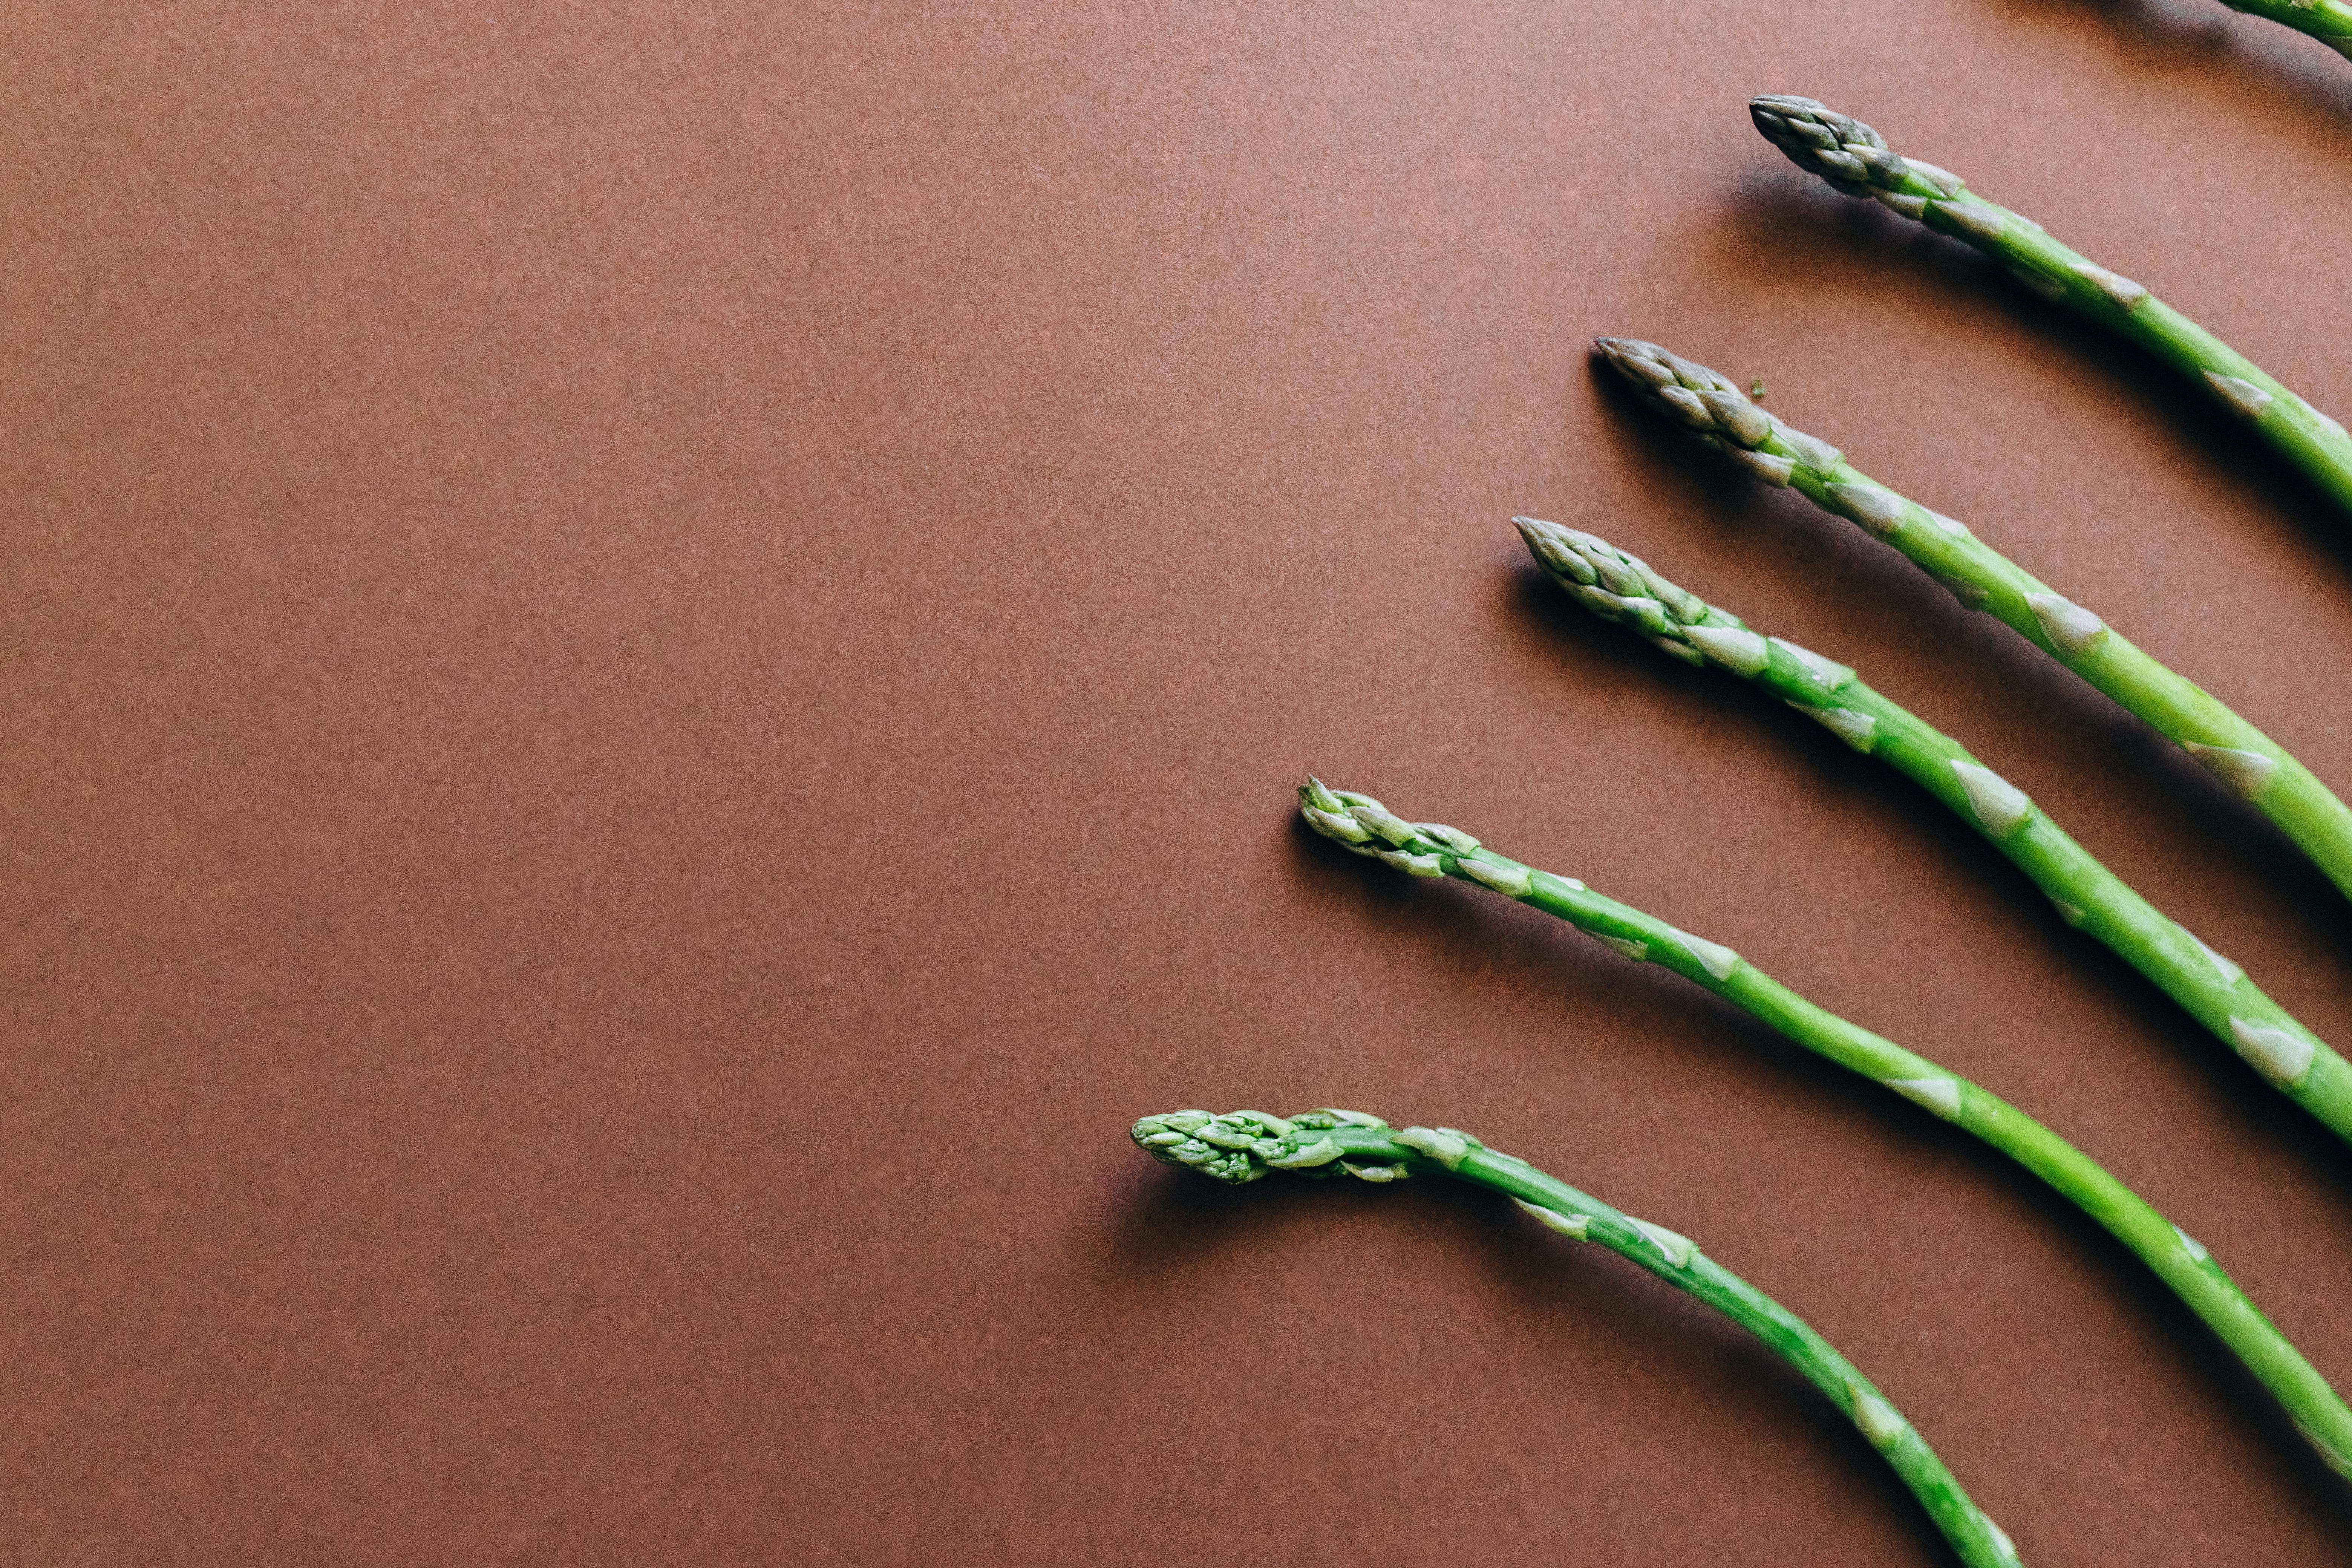
GREEN

These days, green is associated with sustainability. But it is also linked to tranquility, peace, good luck, jealousy and money.

Green has a calming effect, which is why the “green room” came about. Green also relieves stress and is a good color choice for an office.

Research has shown that the color green can improve reading ability. Placing a clear sheet of green film over reading material can increase speed and comprehension.

BLUE

Blue is associated with calm and serenity, as well as sadness. It can also create feelings of distance.

It is one of the most popular colors, but it is also considered the least desirable. Weight loss programs suggest that you eat blue plates to lose weight. The reason is that there are not many blue foods in nature, and our minds associate blue in food with poison or spoiled food.

Blue can lower your heart rate and body temperature – it’s a “cool” color in more ways than one.

The preferred color for men is blue.

PURPLE

Purple has long been associated with royalty and wealth. It is also associated with wisdom and spirituality.

It’s an uplifting color that encourages creativity, making it a great choice for design businesses and schools. It has been shown to stimulate the part of the brain that is used for problem solving.

Purple is very popular with creative or eccentric types and is the favorite of many teenage girls.

WHITE

Is white a color? Scientifically speaking, no, it’s a lack of color. But if you ask a designer, he will tell you that it is one of the most important colors, or rather, the shades. White is a very symbolic color. In many cultures it means virginity, which is why brides often wear it. It is also associated with purity, innocence and serenity.

Used by doctors, white is a color of cleanliness and sterility.

White reflects light and is a bright color that can create a sense of space to create contrast and highlight.

It’s often considered cool or soft, but consider what happens if you add tints of other shades to make very subtle whites.

GRAY

Gray is another one of those non-colors. But it is by far my favorite color. However, it does not have a very good reputation. It has been associated with loss, depression and sadness.

Gray weather is a regular thing where I live, and many people complain about how depressing it is, but I find it cosy, warm and comforting.

On the plus side, gray is also considered timeless and considered classic. Some know it as the color of intellect, knowledge, and wisdom, and I’ll agree!

Gray blends well with other colors and is a great neutral. It has long been a go-to for suits and is a favorite of many designers.

BLACK

Again, many people will argue that black is not a color. But in this context, I will argue that it is. Black is associated with formality, sophistication, as well as mystery, evil, death, and mourning.

Black is one of the favorites for clothing and accessories. What woman does not have a little black dress? It also makes you look slimmer and more sophisticated.

Black is also associated with power and luxury; limousines, tuxedos, judge and priest dresses, etc.

Black implies weight and can be an overwhelming color if used incorrectly in a home.

So how does all of this relate to your PHYSICAL well-being?

Believe it or not, our feelings or emotions affect our health and well-being. Emotions produce chemicals in the body called peptides. I won’t go into too much detail as I’m NOT a doctor, but basically those chemicals are released into the bloodstream and every cell in our body is ready to receive them. In fact, we can become addicted to emotions due to the reactions they cause in our body, similar in many ways to drugs. It may be because they become familiar and comfortable to us (whether through good or bad emotions). Consider those people who are “adrenaline junkies.” It is a physical change in our body caused by emotions (fear and excitement). Different emotions, and combinations of emotions, have different effects on us, but they ultimately affect us physically.

How do you apply color in your home?

Color is seen by the way light reflects off a surface or off colored light sources. Color, and particularly contrasting color, is also used to draw attention to a particular part of the space. There are primary colors, secondary colors, and tertiary colors. Tertiary colors are usually the most pleasing to the eye. Complementary colors are colors opposite each other on the color wheel. Complementary colors are used to create contrast.

Analogous colors are colors that are next to each other on the color wheel. These can be used to create color harmony.

Monochromatic colors are tints and shades of a single color.

Warm colors are a group of colors consisting of reds, yellows, and oranges. Cool colors are a group of colors consisting of purples, greens, and blues.

Do’s and Don’ts of Color

Now, some tips for applying what you’ve learned

DO:

Use contrast Build your color scheme around a signature or favorite piece Apply unity within each room and throughout the house using complementary colors Consider the style or period of the home Consider the use of the room Have fun

WHOSE:

Choose your paint colors before anything else Make your favorite or boldest color the main color – it will stand out more as an accent Ignore color casts Get caught up in trends Be quick – take your time choosing colors and look at them carefully different lights Be scared, it’s just paint!